In lieu of cakes this week, I thought I'd share some of the dishes my family partook of during our Easter celebrations, as well as some of our egg-y creations. So without further ado...
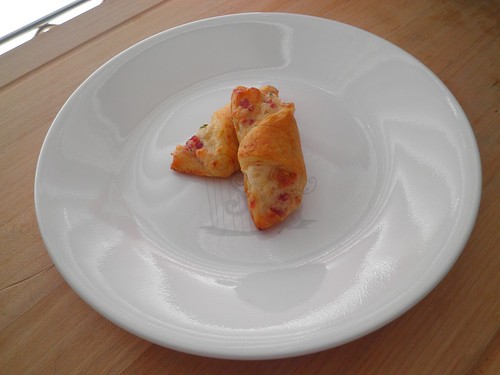
First things first, we had to dye eggs...all 306 of them. And of course, all that creativity made us hungry! Luckily, we had some delicious finger foods on hand, like these bacon appetizer crescents.
I'd say the nourishment worked. We had some beautiful and very colorful eggs...including some dyed using silk, several that had hand drawn embellishments, and even a few "origami" ones.
 |
| Silk-dyed Eggs |
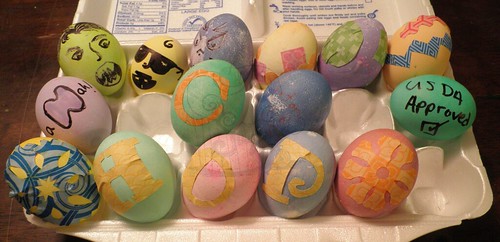 |
| "Origami" and Hand-Embellished Eggs |
We had our egg-dyeing adventures on Friday, which allowed me to spend most of Saturday preparing Easter dinner for our group. One thing I love about cooking for the family is that I get a chance to try out lots of new recipes; seldom do I offer the same dish twice. After all there are too many ways to experience food out there, no reason to stick with the same dishes all the time! My family is a wonderful test group (for the most part) and seldom complains, although they do ask that I stay away from overly exotic ingredients - they have their limits on adventurous eating it would seem...
So, in order to keep from going too far afield from the family's preferred taste profile, I made a mustard rubbed, panko-crusted pork loin as the main dish for our meal, accompanied by an assortment of sides, including Italian Smashed Potatoes, corn, and Classic Baked Macaroni & Cheese. All of the dishes were pretty good, but I think they were slightly overshadowed by two of the other choices I offered -
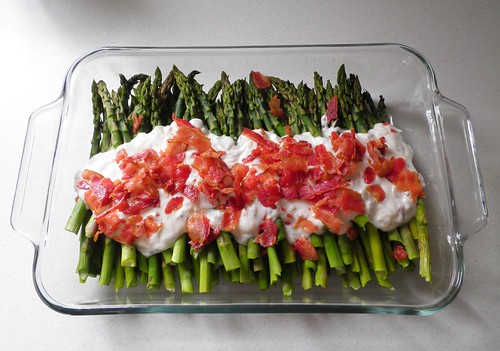
And the no-knead bread.
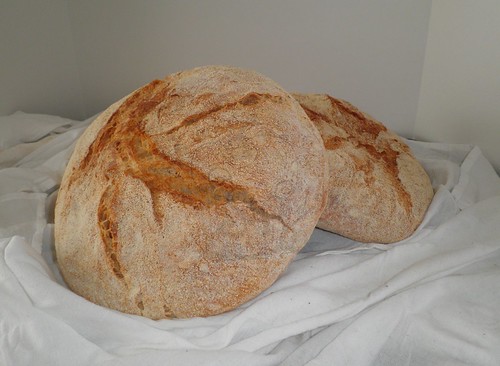
Both of these received rave reviews from the crowd though they couldn't be more different in terms of time requirements. The asparagus was a microwave recipe that took all of 15 minutes to prepare; the bread 18+ hours! (Guess it just goes to show that input time is not always a deciding factor in deliciousness.)
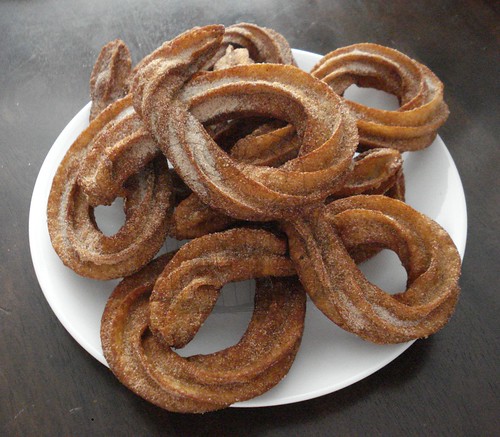
I didn't slack off when it came to desserts either. After all, they are the most important part of the meal, right?
I made sure to offer up something for everyone, including Easter-themed sugar cookies, Almond Bark Drop Cookies, Lemon Cheesecake, French Silk Chocolate Pie, and Shoebox Apple Tarts.
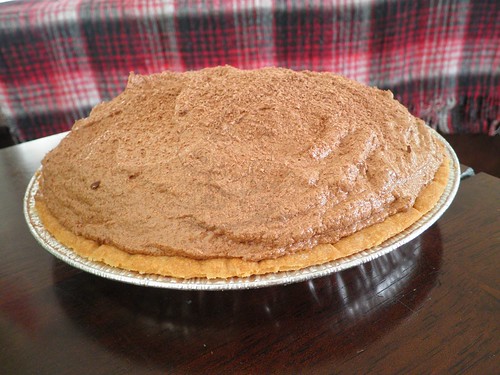 |
| French Silk Chocolate Pie |
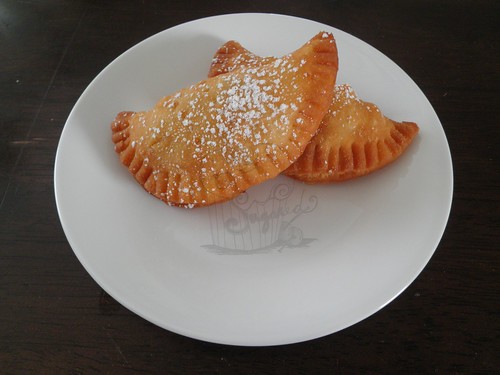 |
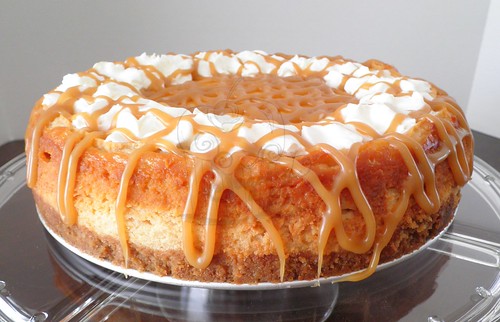
| Shoebox Apple Tarts |
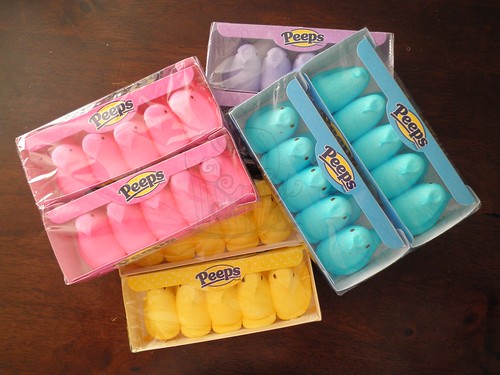
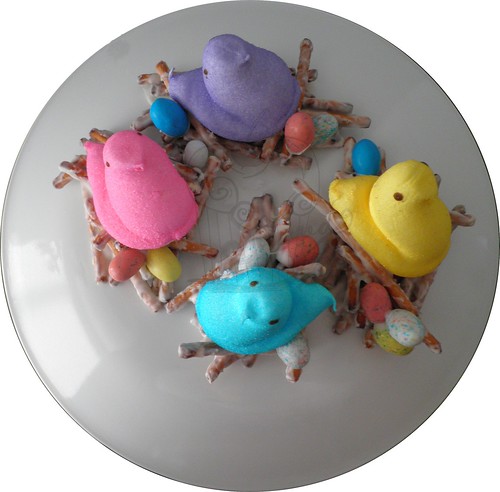
Admittedly, there may have been a few sugar highs in our group after dessert, but at least they weren't induced by the beheading of innocent chocolate bunnies. In fact, I can honestly say that no chocolate bunnies were harmed in the creation of this meal. As for Peeps...well, that's another story...
Ta-ta for now!