
It whips up in just a few minutes, aside from freezing the crust, and you don't even need to turn on the oven. It's a nice cool, minty treat for warmer weather. If you don't have Thin Mints, I would venture you could simply use chocolate-covered chocolate cookies and add a teaspoon or two of mint extract. I haven't tried it this way, but you'd get a similar effect...I think.
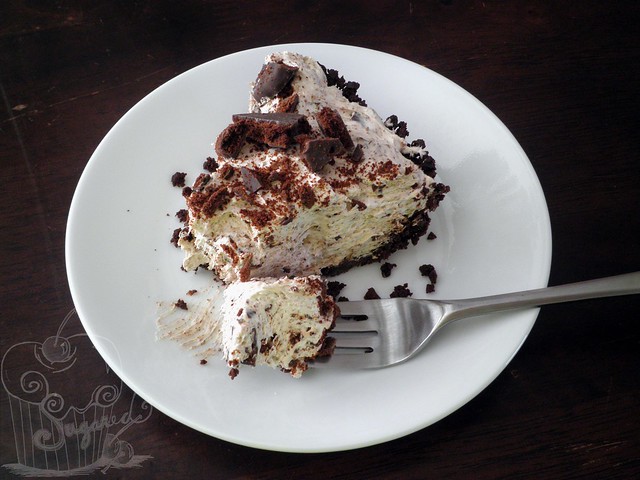
Thin Mint Cookie Cheesecake Pie
Printable Recipe
Yield: 8 to 10 servings
Time: 15 minutes, plus chilling
Ingredients:
- 8 oz cream cheese, softened
- 1/3 cup granulated sugar
- 1 tsp vanilla extract
- 8 oz Cool Whip, thawed
- 1/4 cup butter, melted
- 2 sleeves (i.e. 1 box) Girl Scout Thin Mint Cookies
Preparation:
- Finely crush 24 cookies. Once crushed, add the melted butter and stir to combine.
- Press crumb mixture evenly across the bottom and up the sides of a 9-inch pie tin. Place the crust in the fridge (about 30 minutes) or freezer (10 - 15 minutes) until hardened.
- In a large mixing bowl, cream together the cream cheese, sugar, and vanilla extract until light and fluffy. Gently fold in the Cool Whip.
- Crush 15 to 20 cookies. Fold the crushed cookies into the cheesecake/cool whip mixture.
- Spread the filling mixture into the cold pie crust. Top with additional cookie crumbs. Refrigerate until ready to serve.
- Eat any remaining cookies, reserve for additional garnish, or save for a later use.
Happy baking!

No comments:
Post a Comment