
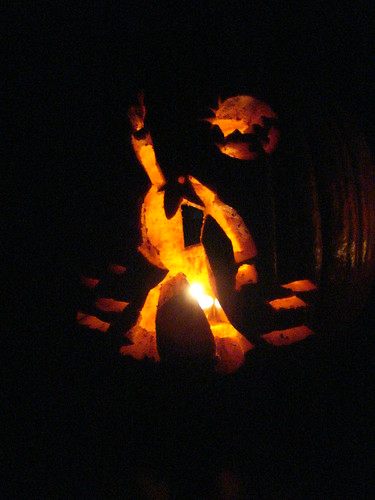
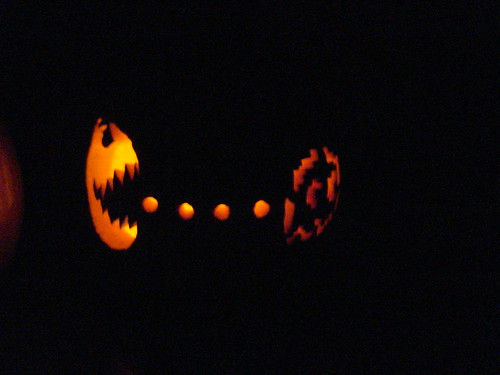
While I haven't carved a pumpkin yet for this year (I'm planning to though, already have a pattern selected, just need a pumpkin!), here are K and I's creations from last year. Kinda a little bit of proof that I somewhat know what I'm talking about. Hehe! My creation is the headless disco dancer and K's is the take on an immensely popular arcade game.
Now that you're inspired to create your own carving, here's those tips:
- Pick out a pumpkin that will make a good jack-o-lantern. Traditionally, the larger the pumpkin, the easier it will be to carve. Also, keep in mind what type of pattern, design, or stencil you will be carving and choose a pumpkin whose shape will fit the design. Try to find pumpkins with smooth surfaces and large, sturdy stems.
- Once you've found the perfect pumpkin, you have to get inside to clean it out. Most people opt to cut the top out of the pumpkin, creating a lid. If so, carve at a 45° angle, this will provide the lid a "ledge" to sit on, rather than falling into the pumpkin as it dries down. If your design lends itself to removal of the bottom of the pumpkin, slice it off flat and discard the base. Easy peasy!
- Use sturdy scrapers to remove the "guts" and seeds. I personally like to use metal cooking spoons, spatulas, or even an ice cream scoop. Try to scrape the walls down to approximately 1 inch thick, this will make carving much easier. And remember to keep the seeds! They taste great roasted; here's how.
- Once your pumpkin is free of its insides, time to transfer the pattern! My preferred method is to tape the pattern to the pumpkin, then use a small awl or drill to poke holes through the pattern and into the pumpkin. Remove the pattern, then dust the surface of the pumpkin lightly with cornstarch or flour. This will highlight the holes and make the pattern easier to see. Keep the pattern for reference as you are cutting.
- I would recommend getting a set of pumpkin carving tools. I personally am drooling over this one, but I take my pumpkin carving fairly seriously. And since I don't own that set yet and it is still out of my budget, I use the inexpensive sets you can get at most major retailers. Just make sure it has a scraper, drill, and a couple of different sized saws.
- Time to start carving! Carve the smaller details first, then move on to the larger ones. Be sure to carve slowly and take your time. Getting in a hurry or try to force a piece of the carving out before it is fully cut could result in your design being altered from its original intent.
- Carve a ventilation hole in the back of the pumpkin (unless you are carving a reflective pattern). Do not forget this step! You will either catch your pumpkin on fire or your candle will not stay lit.
- Once you are finished carving, rub a thin layer of petroleum jelly over all the cuts. This will help the pumpkin retain water and prevent it from drying out so quickly.
- Find the perfect place to display your work of art, add a candle, and light. Don't forget to take photographs! You can also sprinkle the inside of the pumpkin with some cinnamon, cloves, or nutmeg...it'll make a wonderful air freshener!
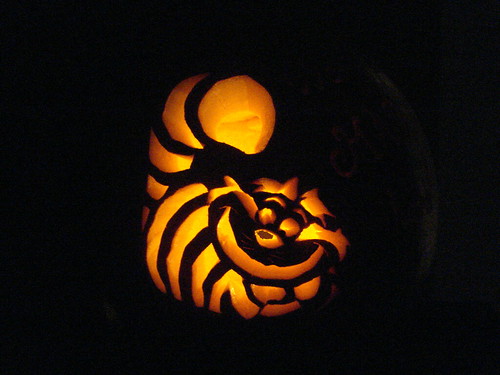
A little more inspiration for you...the pumpkin I carved in 2009. I try to find patterns that are fairly unique, I don't think I've ever carved a "traditional" jack-o-lantern...I may have to do that one of these years. But for now, "we're all mad here." (That's what the side of the pumpkin said...rather hard to read in the photo.)

If you need a pattern for your pumpkin(s), there are numerous free ones available online. Just do a search for "free pumpkin patterns" or, if you prefer, you can usually pick up a book of patterns in your local variety store. If you purchase a book, I'd suggest making a copy of the pattern so that the book stays intact for future use.
Happy carving! And I'd love to see your creations if you want to send them my way. I'll share mine once I get it completed!

No comments:
Post a Comment