
And here's what you'll need:
- Cupcakes
- Frosting
- Food dye (your choice of color(s))
- Star piping tip
- Piping bag
- Necco wafers or giant smarties
- Licorice whips or licorice string
- Fondant, if desired
- Toothpicks, if necessary
- Food color pens (only if you already have them!)
How to assemble:
1. Dye your frosting the desired shade. (If you are making black spiders, I would suggest starting with chocolate icing, then adding black food dye. You won't have to use near as much coloring!)
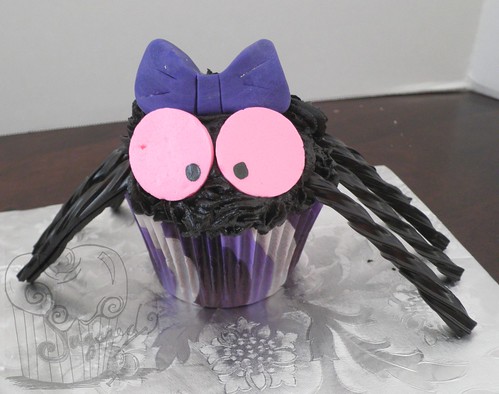
2. Place the star piping tip into your piping bag. Fill with the colored frosting and begin piping stars randomly all over the cupcake. Pull the piping bag straight up to give the spider a "spiky" texture or keep the tip close to the surface of the cupcake to make the spider look flatter and slightly fluffy. Alternatively, for a different look, you can also pipe random strings, still using the star tip, all over the cupcake. (This is the method I used on the spider in the picture.)
3. Cut licorice to the desired length for the legs of the spider. Push them into the icing, then place additional small dabs of icing on top of the licorice to help hold it into place. If you find the legs will not stay affixed, you can use toothpicks to hold them. Just be sure that you tell everyone who will be eating the spiders that they need to be careful of the toothpicks!
4. Place two Necco wafers or giant smarties at the front of the cupcake. Using either a food color pen or a toothpick and your food dye, place a small dot on each wafer for the spider's eyes.
5. Add any additional fondant or buttercream details. Some ideas might be bows (as in the picture), fangs, or even hats...you're only limited by your imagination!
Happy baking!

No comments:
Post a Comment